大まかな流れ
環境
- Windows 10 Pro(バージョン:2004、OSビルド:19041.388)/ 64 bit
- Git for Windows(バージョン:2.28.0)/ 64 bit
やったこと(詳細)
インストーラーのダウンロード
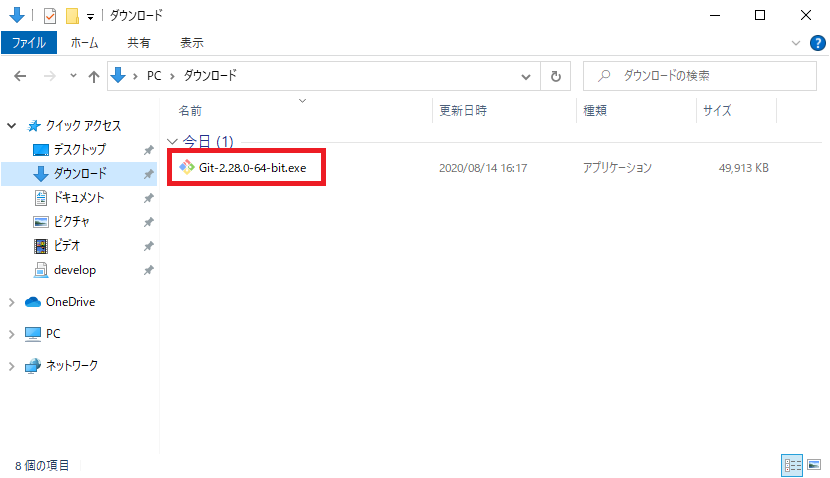
Git for Windows の公式ページ へ行き、「Download」ボタンをクリックしインストーラー(Git-2.28.0-64-bit.exe)をダウンロード
今回「ダウンロード」フォルダに保存

インストール
インストーラーを起動
ダウンロードしたインストーラー(Git-2.28.0-64-bit.exe)をダブルクリックして、インストーラを起動
ユーザアカウント制御ウィンドが表示され、「ユーザがこのデバイスに変更を加えることを許可しますか」と警告が出るので「はい」ボタンをクリック
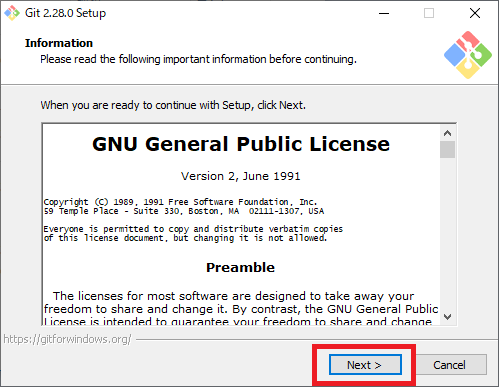
セットアップウィンドが表示されるので「Next」ボタンをクリック
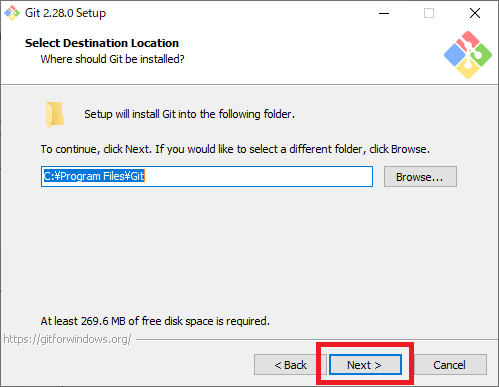
インストール先を確認されるので、デフォルトのまま「Next」ボタンをクリック
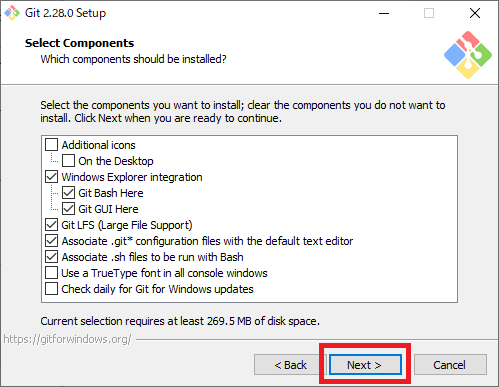
コンポーネントの選択が表示されるので、デフォルトのまま「Next」ボタンをクリック
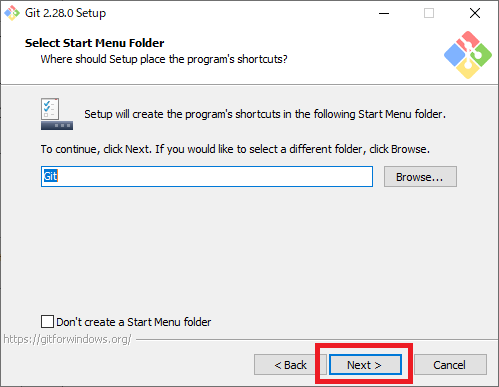
メニューフォルダの確認が表示されるので、デフォルトのまま「Next」ボタンをクリック
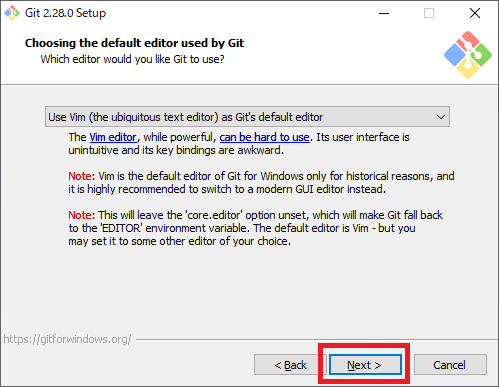
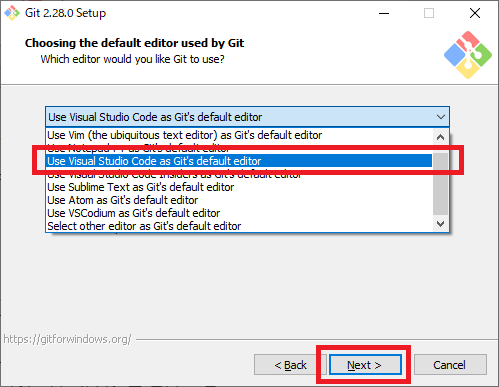
Git のデフォルトエディタの指定があるので、お好きなエディタを選択して「Next」ボタンをクリック。
私は、VS Code を開発エディタとしてますが、デフォルトの「Use Vim (the ubiquitous text editor) as Git’s default editor」を選択しました。( highly recommended と、強く推奨されますしね・・・)
Path 設定の選択が表示されますが、デフォルトのまま「Next」ボタンをクリック
環境変数PATHに、 C:\Program Files\Git\cmd のパスが追加されます。
これで、コマンドプロンプトやPowerShell 及びその他のプログラムから Gitコマンドが実行できます。

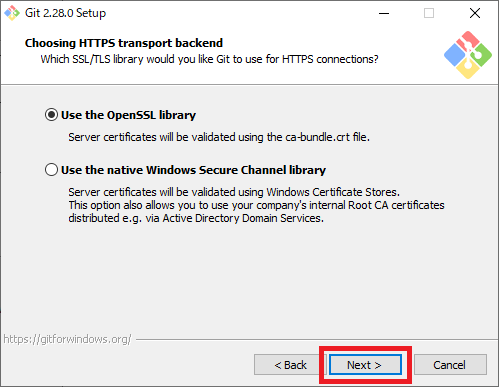
HTTPS を使う際の SSL/TLS の選択画面が表示されますが、デフォルトのまま「Next」ボタンをクリック
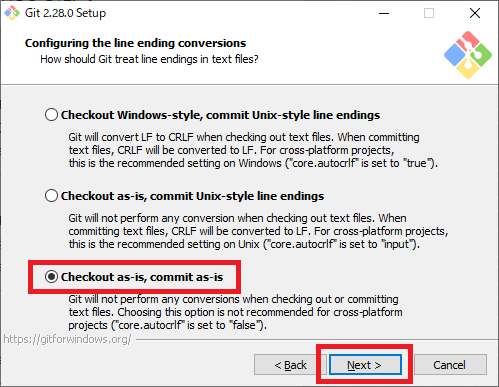
チェックアウトとコミットする際の改行コード変換を選択する画面が表示されるので、「Checkout as-is, commit as-is」を選択して、「Next」ボタンをクリック
「Checkout as-is, commit as-is」は、改行コードを変換せずに入力通りとする設定です。
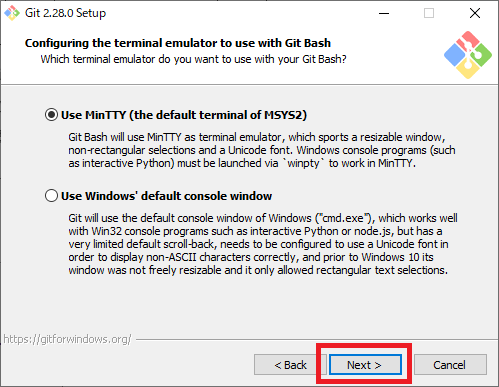
Git Bash のターミナル選択画面が表示されますが、デフォルトのまま「Next」ボタンをクリック
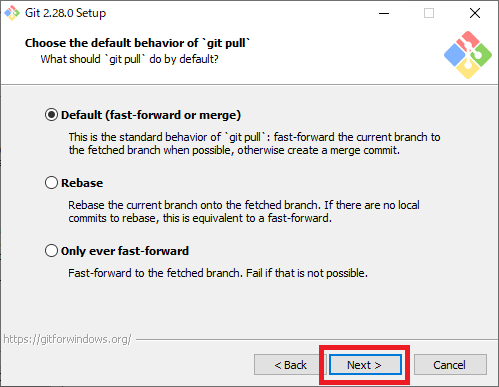
pull 実行時の処理選択画面が表示されますが、デフォルトのまま「Next」ボタンをクリック
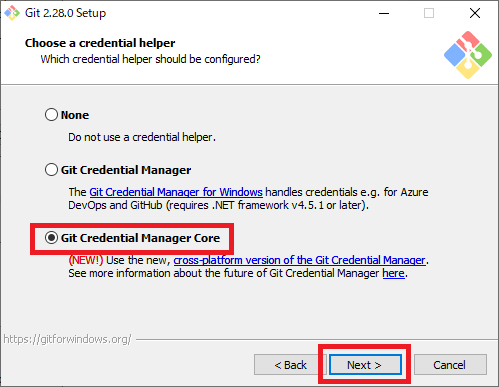
資格情報マネージャーの選択が表示されるので、「Git Credential Manager Core」を選択して、「Next」ボタンをクリック
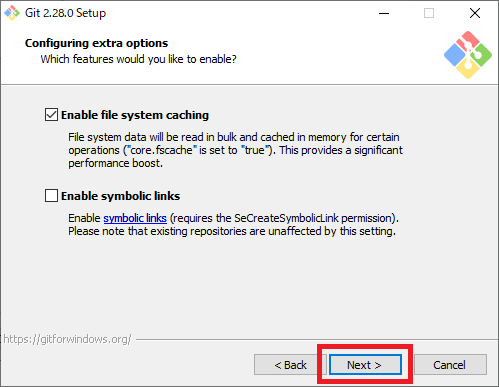
追加オプション設定が表示されますが、デフォルトのまま「Next」ボタンをクリック
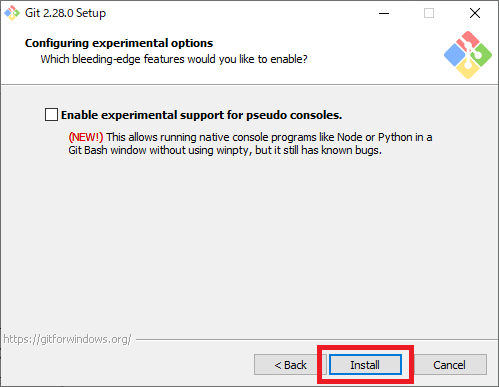
実験オプションの設定画面が表示されますが、デフォルトのまま「Install」ボタンをクリック
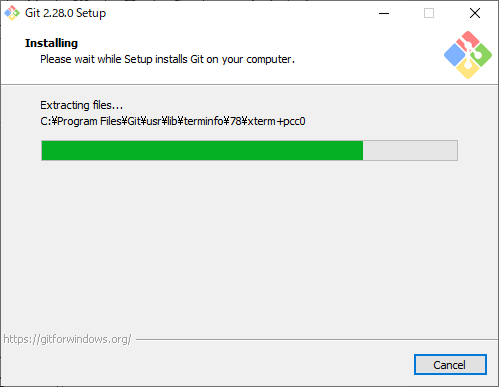
インストールが始まるので、終わるまで待ちます
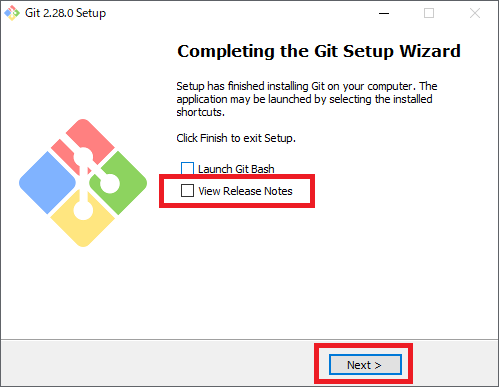
インストールが完了すると、セットアップウィザードの完了画面が表示されるので、「View Release Notes」のチェックをはずして、「Next」ボタンをクリック
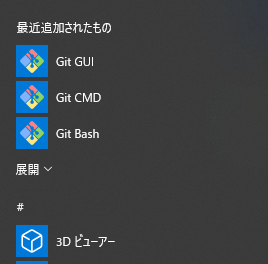
スタートメニューに「Git GUI」、「Git CMD」、「Git Bash」の3つが追加されていれば、インストールは完了です。


コメント